How to Add a Signature in Microsoft Outlook

Are you tired of manually typing your name and contact information at the end of every email you send? Do you want to make a professional impression on your recipients? Adding a signature to your Outlook emails can save you time and make your emails look more polished. However, many users struggle with setting up a signature in Outlook. Free Word Alternatives to Microsoft Word You’ll Love can provide alternative options for editing and creating email signatures. In this article, we'll show you how to add a signature in Outlook emails, no matter which platform you're using.
Are you using Outlook for work or personal purposes? Either way, having a professional-looking email signature is essential. A well-crafted signature can help you establish your brand and make your emails stand out. However, setting up a signature in Outlook can be a daunting task, especially if you're not tech-savvy. But don't worry, we're here to guide you through the process.
Whether you're using Outlook on your desktop, laptop, or mobile device, we'll walk you through the steps to add a signature to your emails. From accessing the mail settings to editing your signature, we've got you covered. So, let's get started and make your emails look more professional.
Accessing Mail Settings
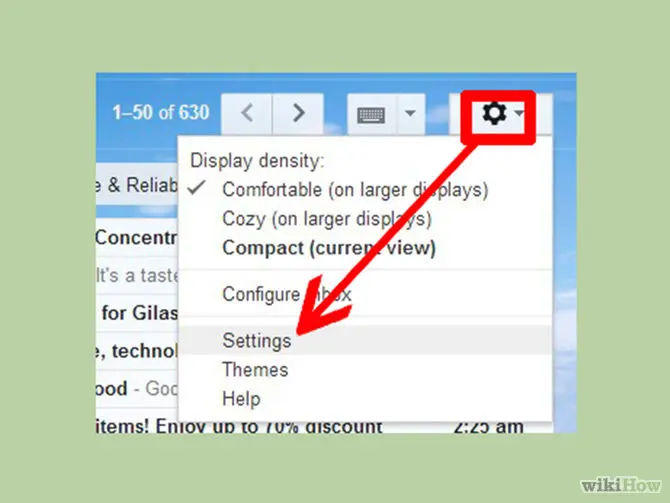
Before you can add a signature to your Outlook emails, you need to access the mail settings. The steps to access the mail settings vary depending on the platform you're using. Here's how to do it:
For Windows
To access the mail settings on Outlook for Windows, follow these steps:
- Go to File > Options > Mail > Signatures.
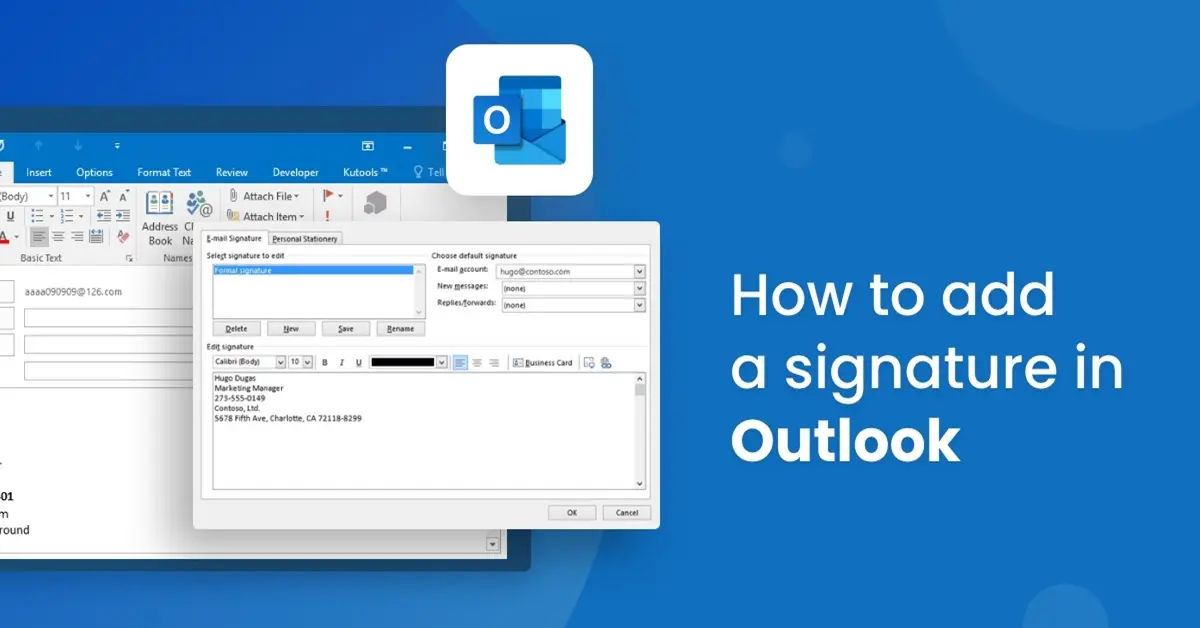
- This will open the Signatures and Stationery dialog box, where you can create and edit your signature.
For Outlook.com
If you're using Outlook.com, follow these steps:
- Select Mail > Compose and reply.
- This will open the Compose and reply settings page, where you can create and edit your signature.
For Outlook on the Web
If you're using Outlook on the Web, follow these steps:
- Select Email > Compose and reply.
- This will open the Compose and reply settings page, where you can create and edit your signature.
Creating a New Signature
Once you've accessed the mail settings, it's time to create a new signature. Here's how to do it:
- Click on the Signatures button.
- In the E-mail account list, select the email account you want to use.
- Click New to create a new signature and give it a distinct name.
- If you're working with PDF files, you may want to know How to edit PDF or Easily Convert PDFs to Word: A Simple Guide for edit PDFs to make your signature look more professional.
Editing Your Signature

Now that you've created a new signature, it's time to edit it. Here's how to do it:
- In the editing box, type your signature.
- Format it using the available options for font, color, and styles to achieve your desired appearance.
- You can also add images, hyperlinks, and other elements to your signature.
Setting Signature Preferences

After you've created and edited your signature, you need to set your signature preferences. Here's how to do it:
- You can choose to add the signature automatically to all outgoing messages or manually to specific emails.
- You can also choose to include your signature in replies and forwards.
Final Steps
Once you've created and formatted your signature, it's time to save your changes. Here's how to do it:
- Click OK to save your changes.
- Your signature will now be added to all outgoing emails.
Using the Signature
Now that you've set up your signature, it's time to use it. Here's how to do it:
- When composing a new email, you can select your signature from the Message tab > Signature dropdown.
- You can also add your signature manually by clicking on the Signature button in the Message tab.
Tips and Tricks
- Use a consistent font and color scheme to make your signature look professional.
- Keep your signature concise and to the point.
- Use images and hyperlinks to add visual interest to your signature.
- Update your signature regularly to reflect changes in your contact information or job title.
- To learn more about email writing and sending, check out How to write and send Email.
Conclusion
Adding a signature to your Outlook emails is a simple process that can make a big difference in how your emails look. By following the steps outlined in this article, you can create a professional-looking signature that will make your emails stand out. Whether you're using Outlook on your desktop, laptop, or mobile device, we've got you covered. So, go ahead and add a signature to your Outlook emails today!
If you need further assistance or have questions, you can visit Microsoft Outlook Support for more information.


