


How to Set Up NordVPN on Apple TV with tvOS
Are you ready to unlock faster streaming speeds and unlimited access to geo-restricted content on your Apple TV? With NordVPN, you can enjoy a seamless, secure connection, ensuring privacy and enhanced streaming quality. However, because Apple TV doesn’t natively support VPNs, it might seem challenging to set up. Thanks to the latest updates in tvOS 17, you now have multiple options, including using NordVPN's Smart DNS feature or directly installing the NordVPN app.
In this guide, we’ll walk you through the setup steps, ensuring your Apple TV experience is fast, private, and free from buffering or content limitations. To further explore Apple device functionality, take a look at How to get Apple Intelligence.
Step 1: Choosing the Right VPN Service
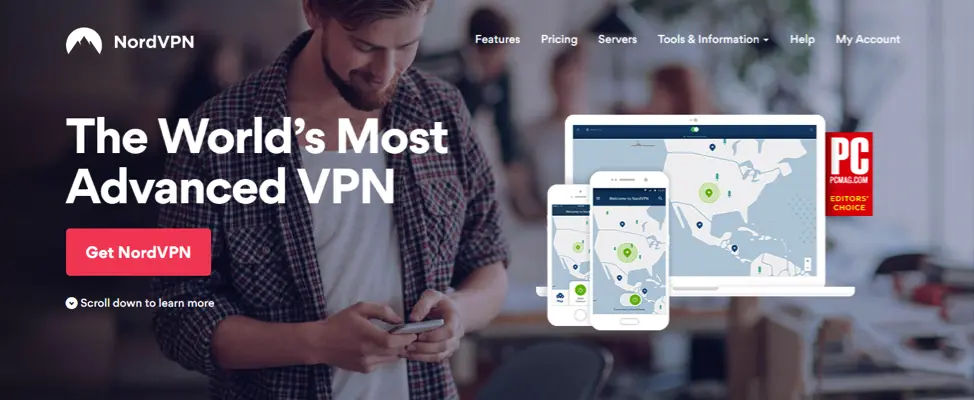
When choosing a VPN, prioritize speed, security, and streaming compatibility. NordVPN is highly recommended due to its extensive network of global servers and optimized speeds for streaming. This VPN also offers Smart DNS, a feature designed to bypass geo-restrictions without slowing down your connection. To get started with NordVPN, visit their website, sign up, and take advantage of their 30-day money-back guarantee. Plus, you may find holiday deals like NordVPN’s Black Friday offer: 74% off and 3 months free.
Step 2: Installing the NordVPN App on Apple TV
Downloading NordVPN for tvOS 17
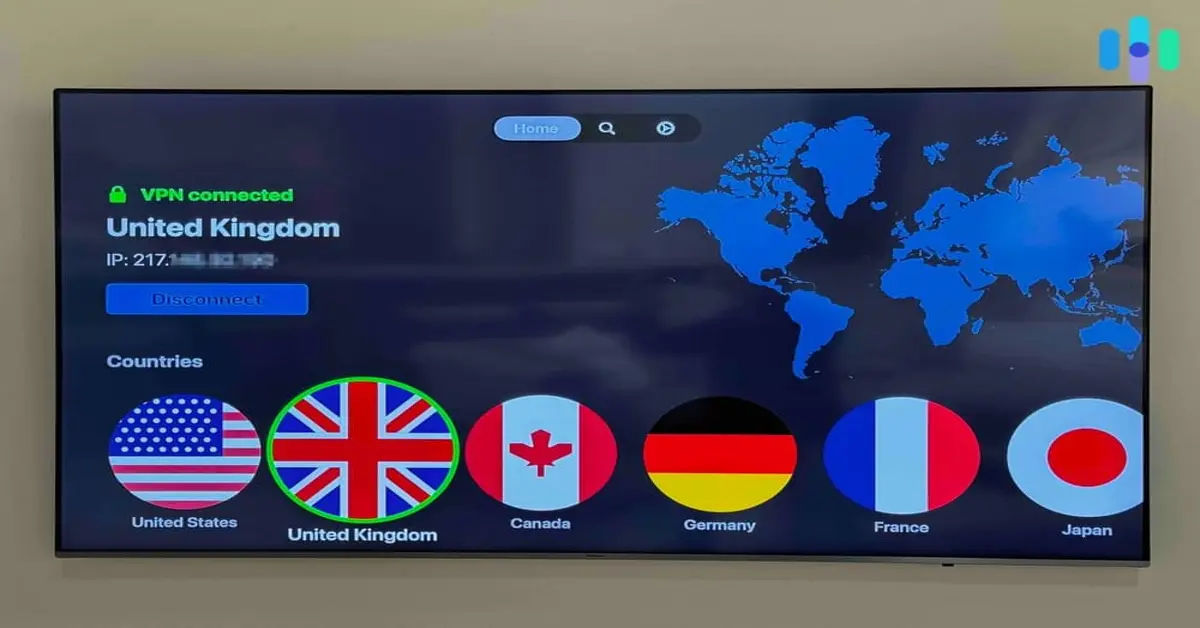
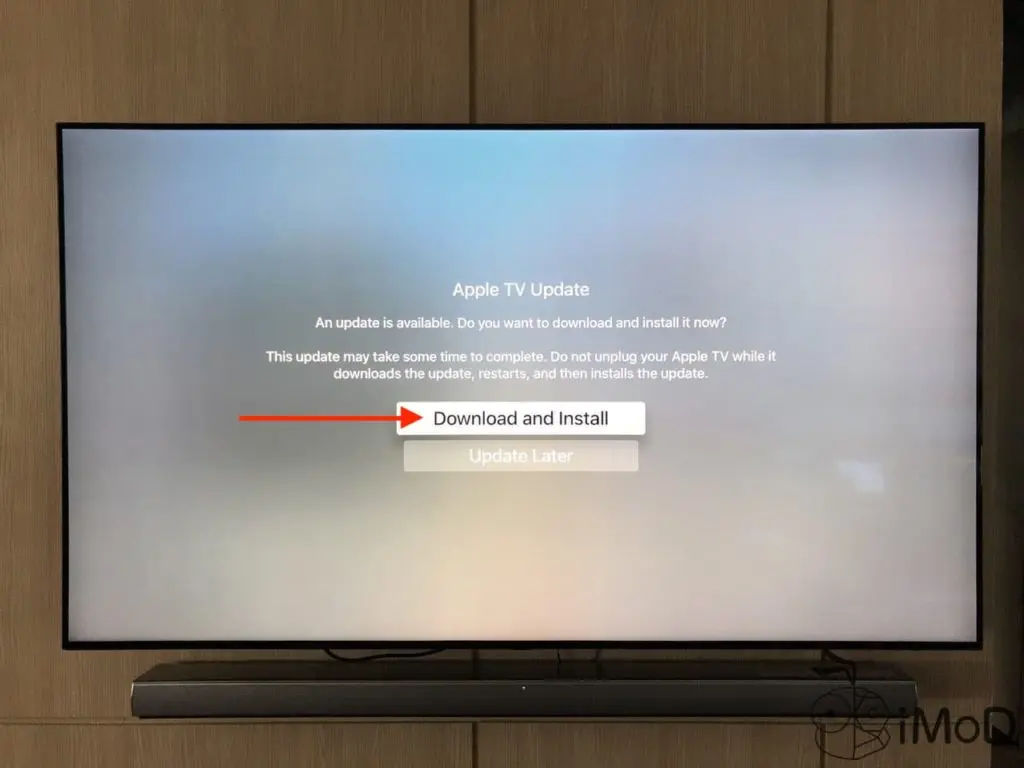
With tvOS 17, you can install the NordVPN app directly on your Apple TV, making it easy to secure your streaming. Here’s how:
- Open the App Store on your Apple TV.
- Search for “NordVPN.”
- Click the NordVPN app icon and select Get to download and install the app.
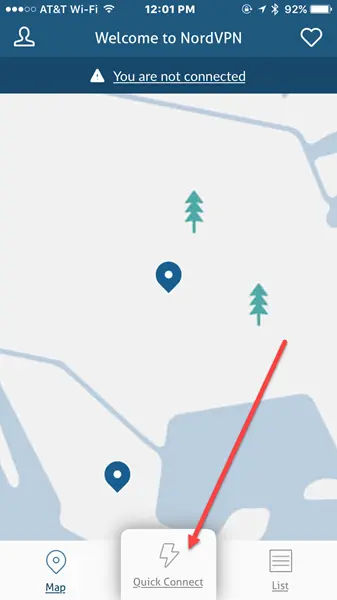
- Once downloaded, open NordVPN and sign in with your account details.
This direct method is the simplest way to protect your connection and stream securely on Apple TV.
Step 3: Activating Smart DNS
If you prefer to keep the setup minimal or your Apple TV model doesn’t support the NordVPN app, Smart DNS is a great alternative. Smart DNS allows you to bypass geo-restrictions on streaming content without encrypting your entire internet traffic.
Steps to Set Up Smart DNS
- Log into your NordVPN account on a web browser.
- Navigate to the Smart DNS