How to choose components and build a gaming computer
Choose parts around your games, budget, and compatibility, then assemble them using each component’s manual and verify the PC starts reliably.
1. Decide what you want the PC to do
Write down the games you play, the display resolution and graphics quality you’re aiming for, and your total budget. These choices guide how much to prioritize the graphics card (GPU) and processor (CPU). HP’s guide uses 4K gaming as an example that calls for higher-end parts, while 1080p can suit a more moderate build; treat these as broad planning guidance, not a guarantee of performance in a particular game.
Decide whether you want to build a desktop. A custom desktop is the focus here; HP notes that gaming laptops are generally difficult to modify internally. If you want a laptop, consider a prebuilt model instead.
2. Choose compatible parts
Make a parts list
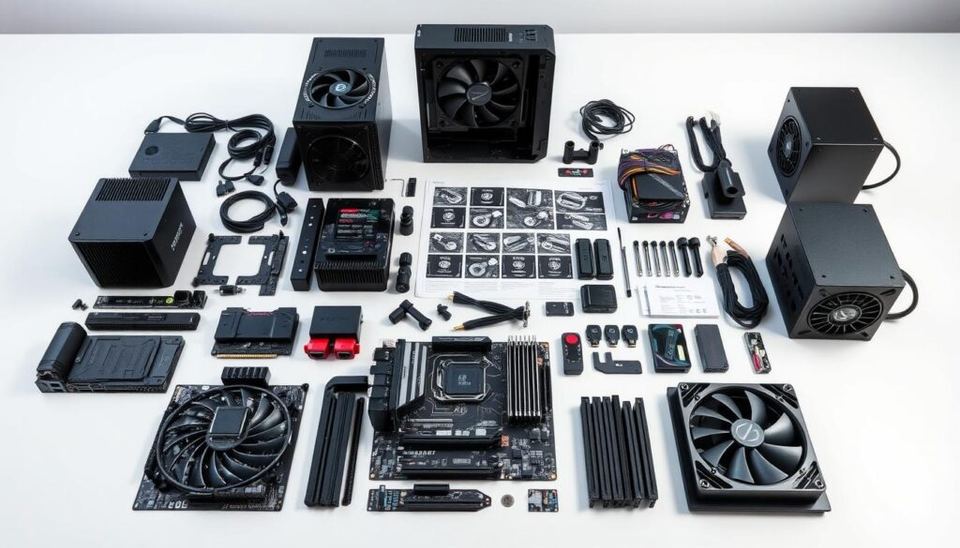
A desktop build needs a CPU, GPU, motherboard, memory (RAM), storage, power supply (PSU), case, and cooling. You’ll also need a display and input devices to use the finished PC. Choose parts as a set rather than buying each item independently.
Start with the CPU and GPU because they strongly affect gaming performance. Then select a motherboard that supports your chosen CPU: the CPU socket must match the motherboard socket. Check the component specifications and manufacturer documentation for compatibility; don’t assume parts fit because they look similar.
Check that the case has room for your selected components and that the PSU can supply enough power for the build. HP recommends considering some additional PSU capacity and room for future expansion, but do not substitute that general advice for the power requirements of your actual parts. Check the manufacturers’ specifications before buying.
Set a budget and plan upgrades
Set a total spending limit before choosing parts. Allocate more of it to the CPU and GPU if gaming performance is the priority, and avoid paying for features you don’t need. If you expect to upgrade later, consider a motherboard with unused memory slots and a case with space for additional parts. Confirm that any planned upgrade will be compatible before purchasing it.
For another overview of the parts and planning decisions, see Intel’s gaming PC parts and setup guide and HP’s component-selection guide.
3. Prepare to build
Before opening the case, gather all parts and their installation manuals. You’ll need a small Phillips-head screwdriver. HP recommends using an anti-static work mat and grounding yourself to reduce the risk of static discharge damaging components.
Work with the computer unplugged and make sure no part is powered on. Keep screws and small parts organized. If a component doesn’t fit or its manual’s instructions are unclear, stop and check the documentation rather than forcing it.
4. Assemble the computer
Follow the instructions for your exact components. Their layouts and installation details can vary, so this guide does not replace the manuals.
Install the CPU and memory on the motherboard as directed by their manufacturers. Confirm that the CPU is supported by the board and that each part is seated as its manual describes. Don’t force a part into place.
Install the motherboard and other parts in the case using the supplied mounting hardware. Secure components with the screws, clips, or brackets provided, as appropriate. Leave enough room for parts and airflow; avoid crowding the case.
Install the storage, PSU, and GPU according to their product manuals. Check the PSU and component documentation for the required connections. The supplied references do not specify connector layouts or installation steps for particular models, so use the exact model’s instructions.
Connect the case fans to the appropriate motherboard headers and connect the case’s front-panel leads, such as the power switch and indicator lights, following the motherboard manual. These small connectors can be easy to mix up.
Before powering on, check that the parts are secured and that all required connections are made as shown in the manuals. Keep the case open only if the manufacturers’ instructions allow it.
HP’s build guide also emphasizes securing parts and connecting fan and front-panel leads. Its advice is general; use your own motherboard and component manuals for the exact locations and steps.
5. Start the PC and check the result
Connect the display and input devices, then connect power and try the case power switch. A successful first check means the computer powers on and the display shows an image. This alone does not confirm that every part is configured or operating correctly.
If the system starts, finish setup using the instructions for your operating system and hardware. For graphics-driver help, see how to update Nvidia drivers on a Windows PC only if the PC uses an Nvidia graphics card; driver steps differ by vendor. The supplied material does not provide operating-system installation or firmware setup instructions, so follow the relevant manufacturer’s current documentation.
Troubleshooting
Nothing powers on: Unplug the PC before inspecting it. Recheck the power connections and the case power-switch lead against the PSU and motherboard manuals.
The PC powers on but there is no display: Confirm the display connection and recheck the GPU and its documented connections. Consult the motherboard and graphics-card manuals; the supplied sources do not establish model-specific diagnostic lights or error codes.
A part will not fit: Stop. Verify the part’s model, dimensions, socket, and compatibility against the component and case specifications. Don’t force it.
The PC becomes unusually hot or unstable: Check that the cooling parts and fans are installed and connected as their manuals require, and make sure the case is not overcrowded. If the issue persists, consult the component manufacturer’s support documentation.
Verify the build
Confirm that the system repeatedly powers on, displays an image, and recognizes the installed components during setup. Check for loose or unsecured parts and verify fan connections against the manuals. Keep the component list and manuals for future troubleshooting and upgrades. If any check fails, power down and unplug the computer before inspecting it.


